
Blog
Why Choose a Wildlife Night Camera for Monitoring?
Choosing the right Wildlife Night Camera can change how researchers, land managers, and responsible observers understand nocturnal animals. After sunset, a forest becomes a different place. Leaves move, eyes reflect infrared light, and quiet paths reveal unexpected visitors. A reliable camera records these moments without requiring people to remain nearby.
Wildlife ecologist Dr. Roland Kays has described camera traps as “a powerful way to study wildlife without disturbing it.” That principle explains their growing value. A Wildlife Night Camera can document feeding, migration, territorial behavior, and population changes. It can also reveal activity that human observers regularly miss. Clear night footage supports better decisions about habitat protection and species monitoring.
Practical details matter. Look for strong infrared performance, weather resistance, long battery life, and dependable motion detection. A camera should produce usable images in rain, fog, and near-total darkness. It should also minimize false triggers from waving grass or falling leaves. No device is perfect. Some recordings may be empty, blurred, or unexpectedly confusing. That is part of the learning process.
Placement requires patience and care. Keep the camera away from fragile nests, avoid unnecessary disturbance, and follow local access and privacy rules. Review footage consistently, record dates, and compare repeated observations. A single clip can be interesting. A careful series of clips becomes evidence. The best Wildlife Night Camera is not merely the most advanced model. It is the one that produces dependable information while respecting the animals and places being observed.
What Is a Wildlife Night Camera?
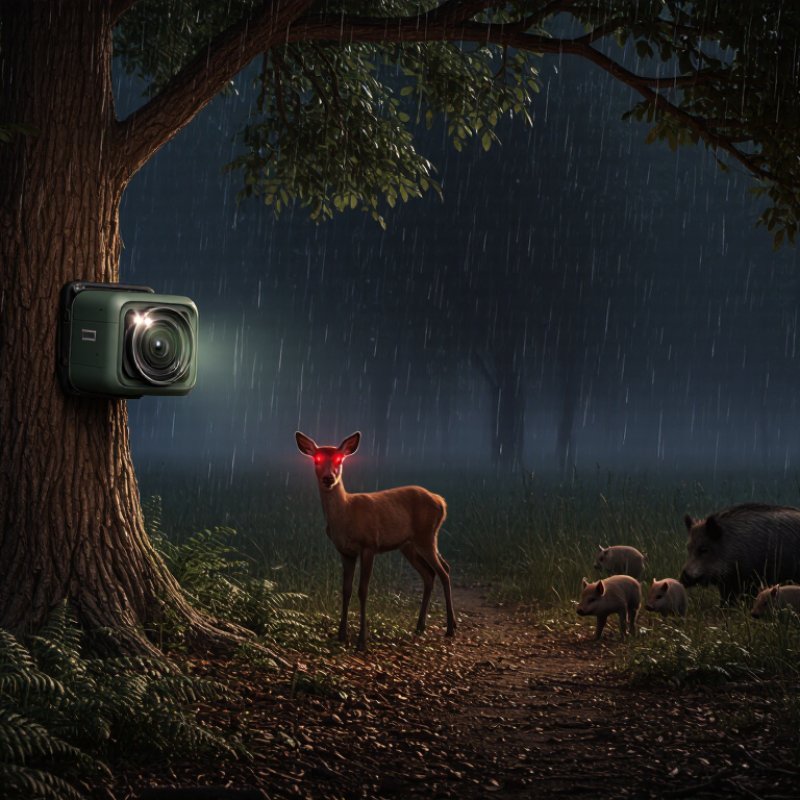
A wildlife night camera is a field device designed to record animal activity in darkness. It usually combines infrared illumination, motion detection, and a still-image or video sensor. When an animal crosses its detection zone, the camera captures evidence without visible flash. This reduces disturbance around nests, trails, watering points, and feeding areas.
Night monitoring matters because many species are active after sunset. The Living Planet Report 2024 recorded a 73% average decline in monitored wildlife populations between 1970 and 2020. Such pressure makes repeated, low-disturbance observation increasingly valuable. A night camera can reveal movement patterns that daytime surveys miss, including nocturnal feeding, seasonal migration, and predator visits. It also records timestamps and location details, supporting more consistent field comparisons.
In practice, correct placement matters more than expensive features. A camera facing a narrow trail may produce clearer evidence than one covering a wide, cluttered area. Infrared glare, rain, insects, and false triggers can still weaken results. I have found that empty footage is not necessarily useless; it may show poor placement or genuinely low activity. That uncertainty needs honest review. Researchers should check batteries, memory storage, date settings, and detection angles during every visit. The IPBES Global Assessment Report also warns that roughly one million species face extinction risk, making reliable monitoring data increasingly important for habitat decisions.
A wildlife night camera is an unattended camera system designed to detect and record animals in low-light or complete-darkness. It commonly combines motion or heat detection with infrared illumination, allowing researchers, land managers, and property owners to observe wildlife without continuous human presence.
| Monitoring Dimension | Typical Capability | Why It Matters for Wildlife Monitoring |
|---|---|---|
| Definition | Unattended night observation system | A wildlife night camera automatically detects and records animals during darkness or low-light conditions. Most systems use an image sensor, an infrared illuminator, a trigger mechanism, and local or wireless data storage. |
| Night Vision Method | Near-infrared illumination or thermal imaging | Near-infrared cameras capture reflected infrared light and usually produce monochrome images at night. Thermal cameras detect heat differences and can locate animals without relying on visible illumination, although they generally provide less identifying detail than standard image sensors. |
| Illumination Options | Low-glow No-glow White light | Low-glow infrared emitters may produce a faint red glow and often provide a balance between image brightness and animal disturbance. No-glow infrared emitters are less visible to animals and people but may offer a shorter effective range. White-light illumination can produce color images at night but is more noticeable and may affect animal behavior. |
| Detection Technology | Passive infrared motion sensing and heat-based detection | Passive infrared sensors respond to changes in infrared energy, such as an animal moving across the sensor’s field of view. Detection reliability is influenced by animal size, movement direction, vegetation, ambient temperature, and the distance between the subject and the camera. |
| Typical Detection Distance | Approximately 10–30 meters for many field deployments | This range is suitable for trails, watering points, nesting areas, and habitat edges. Dense vegetation, heavy rain, extreme temperatures, and poor camera positioning can reduce the effective detection distance. |
| Trigger Performance | Fast triggering with adjustable recovery intervals | A short trigger delay helps capture fast-moving animals, while a recovery interval prevents excessive recording of the same subject. Trigger settings should be matched to the target species and the expected frequency of animal activity. |
| Image and Video Output | Still images, time-stamped clips, or both | Still images are efficient for species identification and activity counts. Video can show behavior, group size, direction of travel, and interactions, but it uses more storage space and battery power. |
| Night Image Characteristics | Usually monochrome with motion-freezing limits | Infrared night images are commonly black and white. Moving animals may appear blurred if exposure time is long or illumination is insufficient, so camera height, angle, sensitivity, and infrared range should be adjusted for the target species. |
| Power Options | Replaceable batteries, rechargeable packs, or external power | Battery life depends on temperature, trigger frequency, video length, illumination level, and communication activity. External solar or wired power can support long-term deployments where sunlight and site security are adequate. |
| Data Storage | Removable memory and, in some systems, wireless transfer | Local storage is useful in remote areas without cellular coverage. Wireless transmission can reduce site visits and provide faster access to alerts, but it requires network availability and normally increases power consumption. |
| Weather Resistance | Outdoor enclosure with protection against dust and water | An outdoor camera should be installed in a sealed enclosure rated for exposure to rain, dust, condensation, and temperature changes. Protection against moisture is especially important because condensation can reduce image quality and damage electronics. |
| Animal Disturbance | Generally low | Infrared illumination is usually less disruptive than visible light, particularly when the camera is positioned carefully. Even so, unfamiliar equipment, faint sounds, or repeated flashes can influence sensitive species, so field testing and discreet placement are recommended. |
| Monitoring Coverage | Continuous operation during scheduled deployment | Wildlife night cameras can collect observations across nights, seasons, and weather conditions without requiring an observer to remain onsite. Multiple cameras can be arranged to sample different habitats or movement routes. |
| Research Applications | Presence surveys, activity patterns, and behavior records | Common applications include confirming species presence, estimating activity periods, documenting nocturnal behavior, monitoring nesting or feeding sites, identifying corridors, and evaluating changes before and after habitat management. |
| Security and Conservation Use | Remote observation of sensitive areas | Cameras can help monitor protected habitats, wildlife crossings, water sources, and areas vulnerable to disturbance. They may also document unauthorized access, but privacy rules and local regulations should be considered before deployment. |
| Main Advantages | Low labor demand, repeatable records, and all-night coverage | Automated recording reduces the need for night surveys, improves the chance of capturing brief events, and creates time-stamped evidence that can be reviewed later. It is especially valuable where direct observation would be unsafe, expensive, or disruptive. |
| Main Limitations | Weather, false triggers, and incomplete identification | Wind-blown vegetation, heat movement, insects near the lens, rain, and changing background temperatures can create false triggers. Images may not always reveal species, sex, age, or individual identity, so camera data should be interpreted with appropriate field methods. |
| Recommended Placement | Stable position, clear detection zone, and suitable height | Place the camera on a stable support and aim it across, rather than directly along, an animal trail when possible. Clear nearby vegetation from the detection zone, avoid direct sunrise or sunset glare, and select a height appropriate for the target species. |
| Best Choice When | Animals are active at night or human observation is impractical | A wildlife night camera is particularly useful for remote habitats, nocturnal species, long-duration surveys, locations with limited lighting, and projects that require consistent observations with minimal human presence. |