
Blog
7 Tips to Choose the Best Sprinkler Irrigation Controller?
Choosing the right Sprinkler Irrigation Controller begins with more than comparing apps, prices, or colorful product screens. It requires matching technology with soil, plant type, climate, water pressure, and irrigation zones. The global stakes are significant. The FAO report The State of the World’s Land and Water Resources for Food and Agriculture states that agriculture accounts for about 70% of global freshwater withdrawals. In the United States, EPA WaterSense identifies weather-based and soil-moisture-based controllers as practical tools for reducing unnecessary landscape watering. These reports offer useful direction, but they do not replace site inspection. No controller is perfect.
This guide presents seven practical tips for making a more reliable choice. They cover zone capacity, sensor compatibility, weather adjustments, flow monitoring, programming flexibility, installation, and long-term support. The Irrigation Association’s Landscape Irrigation Best Management Practices emphasizes proper scheduling, matched application rates, system maintenance, and regular performance checks. Those principles matter in real gardens. A smart controller cannot correct blocked nozzles, uneven pressure, poor pipe sizing, or incorrect zone mapping. Small details matter.
A controller may promise automation, yet still waste water when sensors are poorly placed or settings remain unchanged. That is an uncomfortable point. Many buyers focus on remote access and ignore seasonal review. The best decision balances measurable savings with daily usability. Look for clear controls, dependable data, secure connectivity, and compatible hardware. Then question the marketing claims. A thoughtful selection process can protect landscapes, reduce runoff, and make every watering cycle more deliberate.
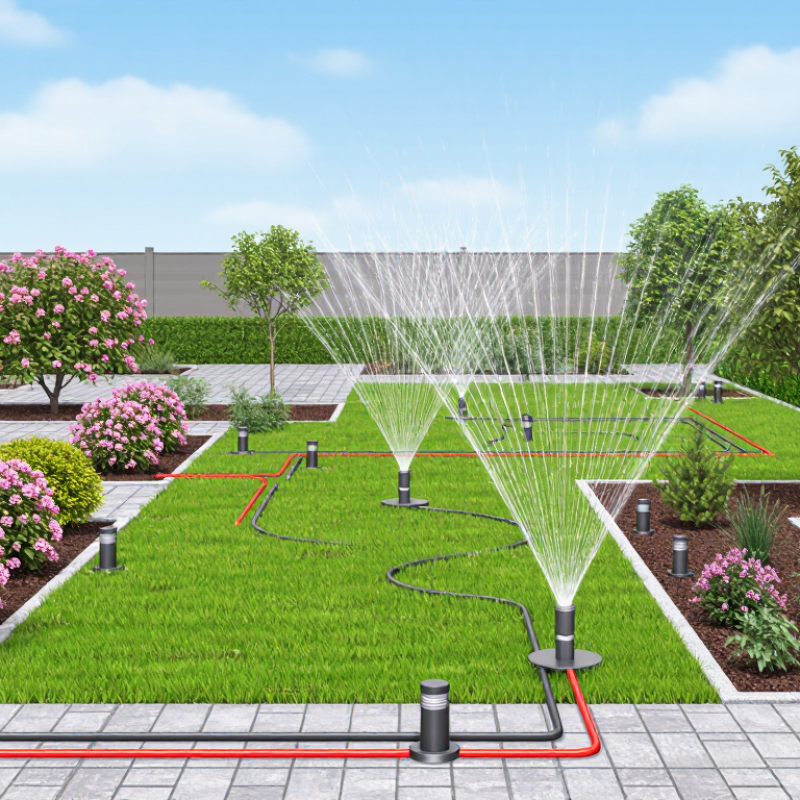
Understand How Sprinkler Irrigation Controllers Work
7 Tips to Choose the Best Sprinkler Irrigation Controller
A sprinkler irrigation controller is the system’s timing and decision center. It opens valves, follows programmed zones, and controls watering duration. Weather-based models adjust schedules using rainfall, temperature, wind, and soil moisture. Soil-moisture models measure water near the roots before starting a cycle. This distinction matters. According to the U.S. EPA WaterSense program, properly selected and adjusted controllers can save an average home up to 15,000 gallons of water annually. The actual result depends on climate, soil, plant type, and maintenance.
Tip 1: Check whether the controller supports separate watering zones. Tip 2: Match its sensor options to your landscape. Tip 3: Choose seasonal adjustment features for changing weather. Tip 4: Confirm that run times can be changed easily. A controller that is difficult to operate often remains poorly programmed. Tip 5: Review rain-delay settings. A few minutes of inspection can prevent unnecessary watering after storms.
Tip 6: Look for flow monitoring or leak alerts, especially on large properties. Tip 7: Confirm compatibility with the valve voltage and existing wiring before installation. The FAO reports that agriculture accounts for roughly 70 percent of global freshwater withdrawals, showing why efficiency deserves serious attention. Residential irrigation is smaller, but waste still accumulates through broken heads and overspray. From practical testing, I have found that automatic schedules are rarely perfect. Shade, compacted soil, and windy corners can confuse even advanced systems. Recheck the controller after one week, then adjust each zone with a soil probe or a simple hand inspection.
| Tip | Selection Dimension | What to Check | Useful Data or Standard Range | Why It Matters | Recommended Choice |
|---|---|---|---|---|---|
| 1 | Match the Number of Zones | Count each separately controlled irrigation area, such as lawn zones, flower beds, shrubs, or drip lines. | Common residential controllers support approximately 4 to 16 zones. Larger properties may require modular or expansion-capable systems. | Each zone can have different plant types, soil conditions, sprinkler outputs, and watering times. | Choose a controller with at least one or two additional zones beyond the current requirement for future expansion. |
| 2 | Select the Appropriate Controller Type | Compare standard timer-based, sensor-responsive, weather-based, and soil-moisture-based control. | Basic timers follow programmed schedules. Weather-based controllers adjust watering using weather or evapotranspiration data. Soil-moisture systems respond to measured soil conditions. | More responsive control can reduce unnecessary irrigation caused by rainfall or already-moist soil. | Use a basic timer for simple gardens; choose weather or soil feedback when water efficiency and changing conditions are priorities. |
| 3 | Check Scheduling Flexibility | Review start times, watering duration, watering days, cycle-and-soak functions, and seasonal adjustment. | A practical controller should support multiple start times per day, independent zone runtimes, weekday or interval scheduling, and seasonal runtime adjustment. | Different plants and soil types need different watering patterns. Cycle-and-soak scheduling helps reduce runoff on slopes or compacted soil. | Choose independent zone scheduling with multiple start times and a seasonal adjustment feature. |
| 4 | Verify Sensor Compatibility | Check support for rain, freeze, flow, soil-moisture, and weather data inputs. | Rain sensors commonly pause irrigation when rainfall reaches a set threshold. Freeze sensors can suspend watering near freezing conditions. Flow sensors can identify unusually high or low water use. | Sensors can prevent watering during unsuitable conditions and may help reveal broken pipes, clogged lines, or open valves. | At minimum, select a controller compatible with a rain sensor; add flow or soil-moisture monitoring when the irrigation system is larger or more valuable. |
| 5 | Understand Valve and Electrical Requirements | Confirm valve type, output capacity, transformer requirements, and compatibility with the existing wiring. | Many residential irrigation valves use 24 VAC control power. A controller must provide enough output capacity for the valves and any approved master valve or pump-start relay. | Incorrect voltage, insufficient transformer capacity, or incompatible wiring can cause valves to malfunction or fail to open. | Match the controller specifications to the installed valves and have electrical connections checked by a qualified professional when necessary. |
| 6 | Evaluate Connectivity and User Controls | Compare on-device controls, app access, Wi-Fi or other communication methods, notifications, and manual operation. | Connected controllers may provide remote scheduling, weather updates, fault alerts, and usage history. Connectivity quality depends on network coverage and power availability. | Remote access is useful for changing schedules, checking status, and responding to rain or system problems without visiting the controller. | Choose connected control when remote management is important; choose local controls when simplicity and operation during network outages are priorities. |
| 7 | Consider Installation Environment and Maintenance | Review indoor or outdoor placement, enclosure protection, operating temperature, backup settings, and ease of programming. | Outdoor installations should use a weather-resistant enclosure suitable for the location. Battery backup or nonvolatile memory can preserve settings during power interruptions. | Moisture, heat, cold, and power loss can affect reliability and may erase schedules on less capable controllers. | Use an outdoor-rated enclosure for exposed locations, protect wiring from moisture, and select a controller that retains programs after a power interruption. |